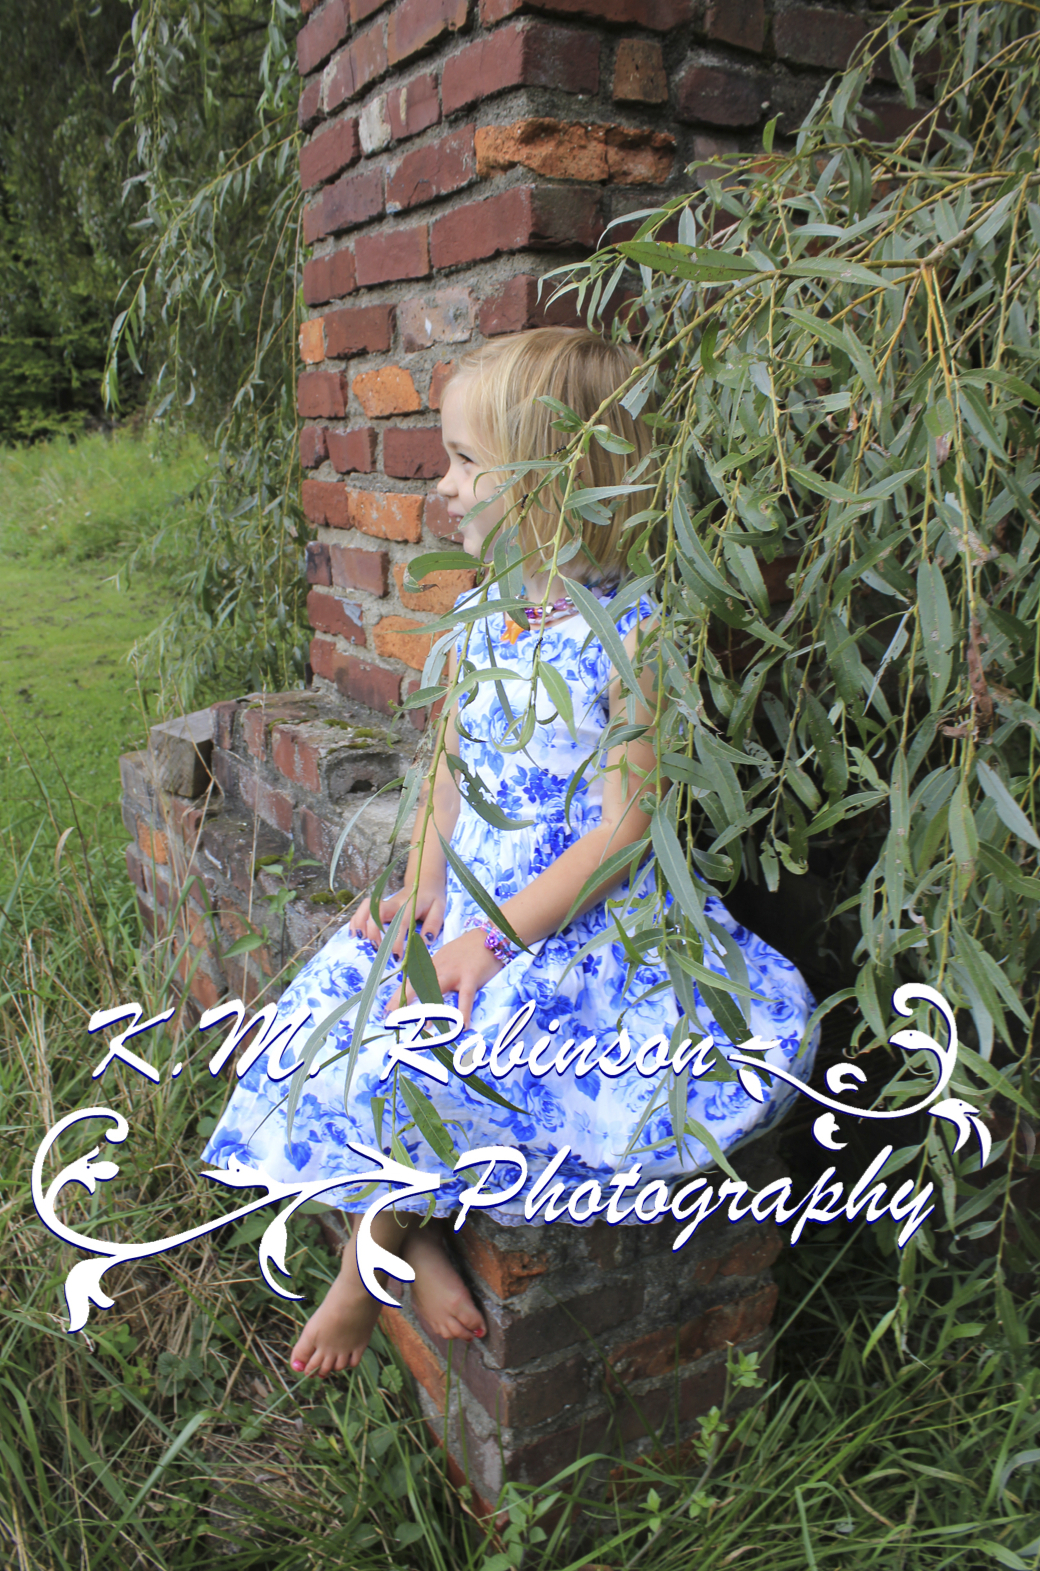
Showing posts with label Honesdale photographer. Show all posts

Friday, June 8, 2012

Girl on Fireplace: Cafe Images

Remember a few months ago when I had some of my work hanging in a local cafe? We got a lot of compliments on the images we displayed there. Well I never did put those images online. Here's one of my favorites-and their favorites:


Isn't she adorable?

Further proof that you don't have to have a person look into the camera to create a compelling photo.


Be sure to check out our:

Sunday, April 22, 2012

Kisses+Disses: Bruises and Cuteness


Today I was sitting at my computer working when I discovered the top of my foot hurt. I looked but didn't see any bruises. Two hours later I looked down to see a massive purple, green, blue bruise on my foot. No wonder it hurt so much.
Now of course, when something is blue, I want to scream "(my hair) is blue! it's blue!" just like Kate Husdon in Bride Wars. I love that line. I will always use it.

Now the real question is, how will I survive the next week of dress shoes with a damaged foot like this? Sigh.

Nevertheless, I can still type which means....


Kisses
*My puppies. Lacey has taken to chasing shadows around the house for hours and hours everyday. Jayda has been super cuddly the last few days.
*Cell phones. They allow for fast communication. I like being able to be in touch when I need to be.
*Little kids. They always have cute things to say and funny stories to tell you.
*White sandals. It's (almost) summer...they are back and they are beautiful!

Disses
*Waiting. I don't like waiting...for information, for events, for responses, for deliveries. If I know something is coming or supposed to be coming, it drives me nuts to wait around for it. If it just got to me on time, I'd have so much more time to work on that and other things.
*Cold showers. I'm pretty sure the dishwasher used up all the hot water tonight, but I'm still trying to recover from my hypothermia.
*Driving in the rain. It's just not pleasant.
*Bruises on my foot. Not fun and actually pretty painful. I suggest you avoid bruising your foot at all costs. lol

Happy Sunday

Wednesday, March 14, 2012

Guy's Week: Make Sure You Smile


Dudes, seriously, we know you want to look all cool and everything, but try smiling in a few photos.

No seriously. We know you feel weird about getting in front of the camera and being professionally photographed but we are here to make you look good.

Yes, we will get the cool not smiling shots. Yes we will get the moody, brooding shots. Yes you will look like a rockstar.

But we also want to see you smile.

Here’s the deal. Women are more drawn to photos of a guy smiling than a guy not smiling. Women connect better to happy people.

I promise, we’re going to get you some awesome smiling shots and some awesome brooding shots. You will be happy you smiled in some of them. And if you’re not, you don’t have to buy them. It doesn’t hurt to take them while you’re going. If you don’t like them, your friends and family don’t have to see them.

Smile!!

Monday, March 12, 2012

Guy's Week: How to Pose In Photos

All last week we talked about the ladies. Now it’s your turn guys! This week we have five articles on how dudes should work it in photos!

Guy posing tips are very different than girl posing tips. Girls want to look tiny and feminine. Guys want to be strong, masculine and cool. Here’s how to do that:

Rule 1.) Stand straight on to the camera. This is very masculine. You take up more space and that is exactly what we want. We want you to dominate the photo. A straight on photo makes you look physically stronger.

Rule 2.) No angles. We tell girls to creating angles with their bodies to make them look more like a model. But with guys, if you want to look like you belong on a magazine cover, you need to take up space in the photo.

Keep your arms close to your body. Now don’t super glue your elbows to your sides…that wouldn’t look good, but definitely keep it close to your body. The closer you keep your arms, the more masculine you look.

Rule 3.) Feet apart. Keep your feet about shoulder width apart. This takes up more space in the photo and makes your like more like a dude.

Rule 4.)Relax, you just have to be yourself. We see how you look and we promise we will only ask you to pose in ways that will show off your coolness. Trust us, we know what we’re doing.


Be sure to check out our:

Website * Facebook * Blog * Bridal Blog * Twitter * Senior Photography Blog

Thursday, March 8, 2012

Girls Week: Hair Styling Tips

So often our hair is thought of as our crowning glory. Which is why we put so much effort into every single day. We curl, we straighten, we force it into updos, we color it, we highlight it, we show it off and work it to our advantage. So of course when it comes to our photo shoot we want our hair to look perfect.

Rule 1.) Always leave part of your hair down. Otherwise you will look like a guy. Don’t look like a guy.

This means if you put it in a bun or ponytail, be sure to leave a few pieces down to frame you face. Otherwise it will look like you have no hair.

Rule 2.) If you have a lot of hair, make sure it’s pulled away from your face so its not falling in your eyes.


I have a lot of hair. I mean Rapunzel-a lot-of-hair. It’s long and thick and always in the way. So I get this one. When I take photos I’m constantly brushing my hair away from my face because it likes to fall in the way.

Use bobbypins to pull a little bit of it back. Or pull it all over one shoulder. This lets your beautiful face shine despite of your gorgeous hair!

Rule 3.) Hair spray. More likely than not we will be outside. Use hairspray, even on an everyday hair style, to hold it where you want it because the wind will mess with you.

Rule 4.) Life can be kind of static-y. And this is okay because have I got a fix for you. When your hair decides its time to stand up on end, we can fix it. This often happens in the winter when you’re taking coats on and off. It’s not a problem. Thanks to a wonderful friend, I carry a dryer sheet in my purse with me at all times. When my hair isn’t cooperating, I run the dryer sheet over my mane and tame it real quick.

Honestly, this works like magic. You should see little kids faces in school when I show them that trick (I’m a substitute teacher too)—priceless.

Rule 5.) Don’t do something you’re not comfortable with. Make sure you’ve tried the hair style about before, you know how to move with it, you know it won’t give you a headache, you like the way it looks and it makes you feel pretty. If you are uncomfortable with it, it WILL show in your photos.

Okay, I lied. One more……Rule 6.) Make sure you have fun with it and don’t stress if it isn’t perfect. You will look stunning, I promise. I will make it happen!


Be sure to check out our:

Website * Facebook * Blog * Bridal Blog * Twitter * Senior Photography Blog

Wednesday, March 7, 2012

Girl Week: Make Your Outfit Work For You


I have learned something very important from looking at photos of myself: not all clothing looks good in photos and the outfits I can rock in everyday life don’t necessarily translate to superstar in photos. (please note, I'm not showing bad photos of me on my blog haha)

Here’s why:

This past fall I went to the ocean. I was going to get some stunning photos of myself. I got dressed in one of my fav outfits, one that I always got comments on. I wore jeans, a purple shirt with a long brown jacket thing over it. It was fitted in the back so it gave me a nice shape when I walked.

I went outside, gave my sister my camera, and we took photos of me (and I took photos of her, it wasn’t all about me) Then I checked her work to make sure I got some I liked. Well I was horrified. Not at her work, but the way I looked. I looked huge. I had a photo from the day before and unless I had gained 40lbs over night something was wrong.

It was my sweater jacket thing of course. Even though it was fitted in the back, it hung open in the front. It often fell open, puffed out, moved, and dangled weird in the photos. In fact there wasn’t a single photo I was happy with.

I should have chosen an outfit that closed in the front. It should have been buttoned up, belted, tied, whatever. The closer at outfit wraps around you the smaller you will look. If it is a loose outfit it will look even more baggy in photos.

Now of course I’m not saying to wear tight clothing. If you were things that are too tight it all of your flaws WILL show up and WILL look even worse. You should be wearing fitted cloth that accentuate your waist line and fit well. Nothing baggy, nothing loose, and nothing open in the front. If there’s a jacket you love like mine, belt it. Big belt, tiny belt…match it to the outfit.

I’m sad I didn’t have a belt with me. I could have saved all those photos by simply adding an accessory.

Keep your clothes close to your body to show off just how cute you are and make sure it fits well to hide any flaws. You’ll be modeling in no time!

Be sure to check out our:

Website * Facebook * Blog * Bridal Blog * Twitter * Senior Photography Blog

Tuesday, March 6, 2012

Girl's Week: Pose with Angles


If you look, in most pictures you will find me angled to the side, face tilted toward the camera, and I will have one (or occasionally both) hand on my hip. It’s not that I’m pretending I’m a model, it’s not that I’m trying to look “glamourous,” I just know that when I create angles I look better.

When I turn my body away from the camera and look back, I am making myself look more slender. If I stood straight in front of the camera it would be capturing my widest parts and would make me look bigger. When I turn, I control how much mass the camera sees. People are look wider if we measure from the left side to the right side then they are if we measure from belly button to center of back. Show the small angle to the camera and you’ll look tinier.

Then there’s the arm. If I left my arm straight down it becomes part of my body and makes it look wider. It’s like an extension of my waist. No woman wants to look bigger than she is. So I take one hand and put it on my hip. This creates space between my waist, and elbow. There’s that triangle of nothing in between my arms and side. This makes my waist look smaller. It defines the same of my waist and because my elbow and arm is out, it makes my waist look small. I usually hide my other arm behind my body because I’m at an angle toward the camera, but if I’m straight on to the camera, I can put both hands on my hip.

Any time you can create angles with your body the better off you’ll be. That means turning at an angle, turning your head slightly in the opposite direction, creating angles with your arms and even creating angles with your legs if you are sitting or kneeling down.

Go stand in front of your full length mirror and practice you angles. You’ll end up finding some great ones that work for you and you’ll find some that you should definitely never do again! Now you’ll know for you’re next photo session! AND you can rock the shot the next time you and your girl friends are hanging out snapping some new facebook pics!

Be sure to check out our:

Website * Facebook * Blog * Bridal Blog * Twitter * Senior Photography Blog

Monday, March 5, 2012

Girl's Week: Look Instantly Thinner


The most embarrassing thing about a photo, bar none, is when a woman sees a photo of herself and she has a thick neck or a double chin. It’s a horrifying experience for any woman. She doesn’t look like that in everyday life, but suddenly when it comes to photos it keeps happening.

Don’t worry ladies, there’s a simple fix for that!

Now listen carefully, this will sound weird and feel weird, but I promise it will work. Keep you body straight and stick your head forward, then tilt your head down slightly. That’s right, you should lean your head forward, it will feel very strange, but it works. You will feel like you look ridiculous, and if someone saw you doing it in everyday life, you would look ridiculous sticking your head out that far. But it photos, it stretches out your skin and gets your chin away from your neck.

Most people have a tendency to pull their heads back when taking a photo. This causes the skin to bunch up and give you that double chin, even though you’re super skinny.

If you stick you head out toward the camera it stretches out the skin and prevents it from doubling. This makes your entire face look skinnier.

Then simply tip you chin down a little (so we’re not staring at the broadside of your throat) and you’re good to go. You’ll look fabulous in every photo from now on if you remember to lean your head out and away from your body and tip you chin down a tiny bit.

Hello, supermodel!


Be sure to check out our:

Website * Facebook * Blog * Bridal Blog * Twitter * Senior Photography Blog

Wednesday, January 18, 2012

Beach Photos: Izaak

I love doing photo sessions at travel locations. By that I mean I love getting to take a trip for a photo session or a wedding. One of my favorite places to shoot photos away from my "studio locations" (the areas right outside my studio that I use frequently) is the beach. You cannot beat ocean photos!!

Meet Izaak! He is my nephew. We're not actually related in any way, shape or form, but he is the son of a dear friend of mine. I've known his mama for years!


Izaak has had it pretty rough. He was born really early. The first time I met him, he had casts on his little arms and legs. Since then he's had surgery to correct things. Poor little guy!

Now Izaak is all healed up and having a ball exploring life! He loves his mama very much and always keeps her in his line of vision while exploring and playing.

He's already quite the little ladies man. He can flirt with the best of them. His smile can make anyone melt. He's always so happy, even when he falls down and scares himself. He jumps right back up and keeps playing.

He loves playing peek-a-boo, especially around the pier on the beach! He giggled every time he popped out to see us. He was such a ham with the camera. He always knew exactly where it was and made sure it was always on him, ready to catch his radiant smiles!

Isn't he precious?!?! I have the most handsome nephew! And that ocean view...made for perfect photos! The blue water and tan sand made the colors he was wearing pop so vibrantly. You can't help by fall in love with these photos!


Monday, December 5, 2011

Different Sizes


Check this out:

Have you ever noticed that when you order prints, not only do they come in different size prints but that they also look slightly different depending on what size you ordered?

That's because the different prints are not the same ratio. Think about...4x6, 5x7, and 8x10...not the same ratio. Which means the photos will be cropped slightly differently depending on what size you order.

Here's how a photo would look if you ordered a 4x6, an 5x7 or an 8x10. You could order the same photo in three different sizes and each would be cropped just a little differently.

So now you know how you photos will look when you order them. Of course, your photographer will go through and center the photos and make sure they are cropped where the photo will look best so you don't have to worry about missing any of the special details!!

Hope this was insightful for you!! Have a great day everyone <3

Be sure to check out our:

Website * Facebook * Blog * Bridal Blog * Twitter

Tuesday, November 22, 2011

Blue Days

Blue is one of my favorite colors to photograph...it looks great on everybody and it photographs stunningly. Don't believe me, check it out for yourself...


See what I mean...stunning. I recommend blue to all of my clients. It's so effortlessly eye catching.

Be sure to check out our:

Website * Facebook * Blog * Bridal Blog * Twitter

Saturday, November 12, 2011

You and Your Newborn Photo Session


It's Day 6 of National Newborn Safety Week!!

We've touched on safety, your session, our studio, editing and retouching and how to decorate your home with your photos and canvases. Pretty much our focus has been on baby...baby...baby! Now let's talk about mommy and daddy (cause they're pretty important too!!)

Aside for the baby photos, we love taking some parent and baby photos. After all, they will never be that little again and you will regret not having them. Sometimes mommy and/or daddy can be self conscious and down right stubborn about not being in photos. Really, there is no need to worry-editing and retouching is an amazing thing! I fix blemishes, take redness out of faces, get rid of shine on the face, whiten teeth, fix stray hairs...all sorts of miraculous things! (you should see what I fix for baby...flaky skin, serious red color in skin, bumps and blemishes...it's a lot of work to make baby look gorgeous only a few days after their grand entrance into the world!)

Mommy and Daddy, relax...you'll look great, I promise! Just enjoy cuddling with baby and I'll be over here clicking away on my camera. Consider it a bonding experience, with umbrella lights.
I suggest all parents wear black for the newborn session. It looks best in the photos and makes baby really stand out!

For more info on how to plan for your newborn session, email me at katie@kmrobinsonphotography.com <3 Can't wait for your session!!

Be sure to check out our:

Website * Facebook * Blog * Bridal Blog * Twitter

Friday, November 11, 2011

What To Do With Your Prints and Canvases


It's Day 5 of National Newborn Safety Week! We've already talked about safety, your session, our studio, and our editing process. Now let's talk about how to use your photos!!

What to Do With Your Prints and Canvases

1. Create a collage! This can be done all in one frame, but it looks more artistic and professional to create a custom collage using individual photos in individual matching frames and putting them together. I love using one or two big photos with some smaller photos paired with it! I
love using a family photos as the large print and smaller individual prints paired with it.

2. Create a focal point with a large print. Then use decor that matches the rest of the room to decorate the walls around it.

3. Create an entire wall of smaller photos in matching frames. This looks stunning and everyone's eyes will be drawn to the wall and they will love exploring all the photos!
4. Create a timeline of your child's life. Take matching frames (or as similar as possible) and put the same size print in a line or in a certain are to show a photo of your child every year of their life. Your friends and family will love watching your child grow through their photos

5. Create a scrapbook. Everyone loves going through a creative scrapbook!


Love these ideas but not sure how to implement them? Want to do this for your home but aren't crafty or artistic? I can help! I do this for a living, all you need to do is ask and I'll be happy to help you plan your photo setup!! We also offer amazing scrapbooks to our clients! Ask about it before your View and Choose so we can work up some ideas for you to take a look at!!

Be sure to check out our:

Website * Facebook * Blog * Bridal Blog * Twitter

Thursday, November 10, 2011

After Your Newborn Session

Day 4 of National Newborn Safety Week!!

So we've talked about safety, what you can expect from your session, what our studio is like..today let's talk about what happens after your session is over:

1.) You go home and spend time with baby. I go home and immediately start working on your photos.
2.) I go through all the photos, pick the good ones and separate them out. Then I go through those and pick the best of the best. I then start editing and retouching them. It takes about 20 minutes for each and every photo. I fix redness in the skin, remove blemishes, adjust color, and fix any little thing that needs fixing.

3.) I create a gallery for your View and Choose session.

4.) You come for your hour long View and Choose session where you view your photos and place your print/canvas/product order. With your newborn session you can also order birth announcements, Christmas cards, etc

5.) I place your order.

6.) Once your order comes in, I view it to make sure everything is perfect (I will never give you photos with chemical splashes on them, or canvases that are off center or not the right color-if there is a problem, the companies I work with will fix it and send it to me again) and then I package everything up with our special packaging (yay!)

7.) If you have opted for your products to be shipped to you, I will get those mailed out right away. If you opted to pick up your products, I will let you know they were in and you can set up a time to come get them
8.) You will fall in love with your photos/canvases/products, you will hand out photos to all of your relatives, you will have a fantastic time decorating your house and baby nursery, you will want to order more <3

Yes, it's as simple as that (for you anyway...editing takes forever for me!!)

Check back tomorrow for Day 5 of National Safety Week where we'll talk about what to do with your photos!!

Be sure to check out our:

Website * Facebook * Blog * Bridal Blog * Twitter

Wednesday, November 9, 2011

Our Newborn Studio Set Up


It's Day 3 of National Newborn Safety Week!!! Here we go...

Our Newborn Studio Set Up includes the following:

1.) Lights...we use lights to illuminate baby for better photos

2.) a space heater...this keeps baby warm (ps it will be warm, so don't come wearing a sweater) and the white noise helps keep baby asleep...yes, even in the warm weather!
3.) props...we have lots of props to work with for both genders, this includes blankets, hats, hair, head pieces, wings, jewelry, background props, positioning props, toys, etc
4.) an assistant...we always have at least one assistant to help the photographer, help position baby, and make sure baby is safe (since I, your lovely photog, has to be a few feet away to take photo and can't hold baby and take photos at the same time)
5.) space for mommy (and sometimes daddy) to relax and take a break from baby duty while we are working with baby...usually there is even somewhere comfy to sit and maybe even take a little nap haha j/k

Check back tomorrow for more info on what to expect after your photo shoot

Be sure to check out our:

Website * Facebook * Blog * Bridal Blog * Twitter

Tuesday, November 8, 2011

How to Get Ready for Your Newborn Session


1.) A few months before baby is due, email us and book a session. Obviously the date is flexible since we don't know when baby will arrive for sure, but we need an idea of when they are due.

2.) Immediately after baby arrives, let us know and set up the date you wish to come. Please note, newborn sessions are held within the first twelve days of life.
3.) Most newborn sessions are done just in baby's diaper, but you are welcome to bring a special outfit if you like. If you want photos with any of our hats/diaper covers/cocoons/hair pieces/tutus/other accessories, etc be sure to let us know so you can take a look at what we have available. We also do custom orders, so if you have ideas we can accommodate that too! We will need to know this information at the very least, two weeks before the session.


4.) On the day of the session, make sure baby is well fed and diaper has been changed. The car ride should keep them calm and put them to sleep. These sessions work best when they are asleep!
5.) Come on in and settle in...it's time for your session and we're working on baby's schedule now!!

Be sure to check back tomorrow for more info on how your newborn session will work!!

Be sure to check out our:

Website * Facebook * Blog * Bridal Blog * Twitter

About Me

My photo
Quality, affordable modern photography We accommodate: *Weddings *Trash the Dress *Engagement *Maternity *Newborns *Babies *Family Portraits *Portraits *Senior Portraits *Head Shots *Pet Portraits *Events *Bands and Musicians *Vehicles *Commercial Advertising *etc see our website www.kmrobinsonphotography.com for price listings Also check us out on facebook!!